Crystran are one of the world’s leading manufacturers of optical components. The company specialises in creating components from infrared and ultraviolet materials - predominantly crystals. From their factory on the south coast, they serve customers in a broad range of industries from research establishments to space agencies.
In 2016 Crystran took the decision to bolster their surface quality inspection capability - a crucial aspect to improve the manufacturing process and increase profitability. In particular, they were dissatisfied with the traditional approach to scratch-dig optical surface inspection that they were utilising. They had realised it was too subjective, and was negating the effort they’d put into meeting more exacting tolerances through improved production processes.
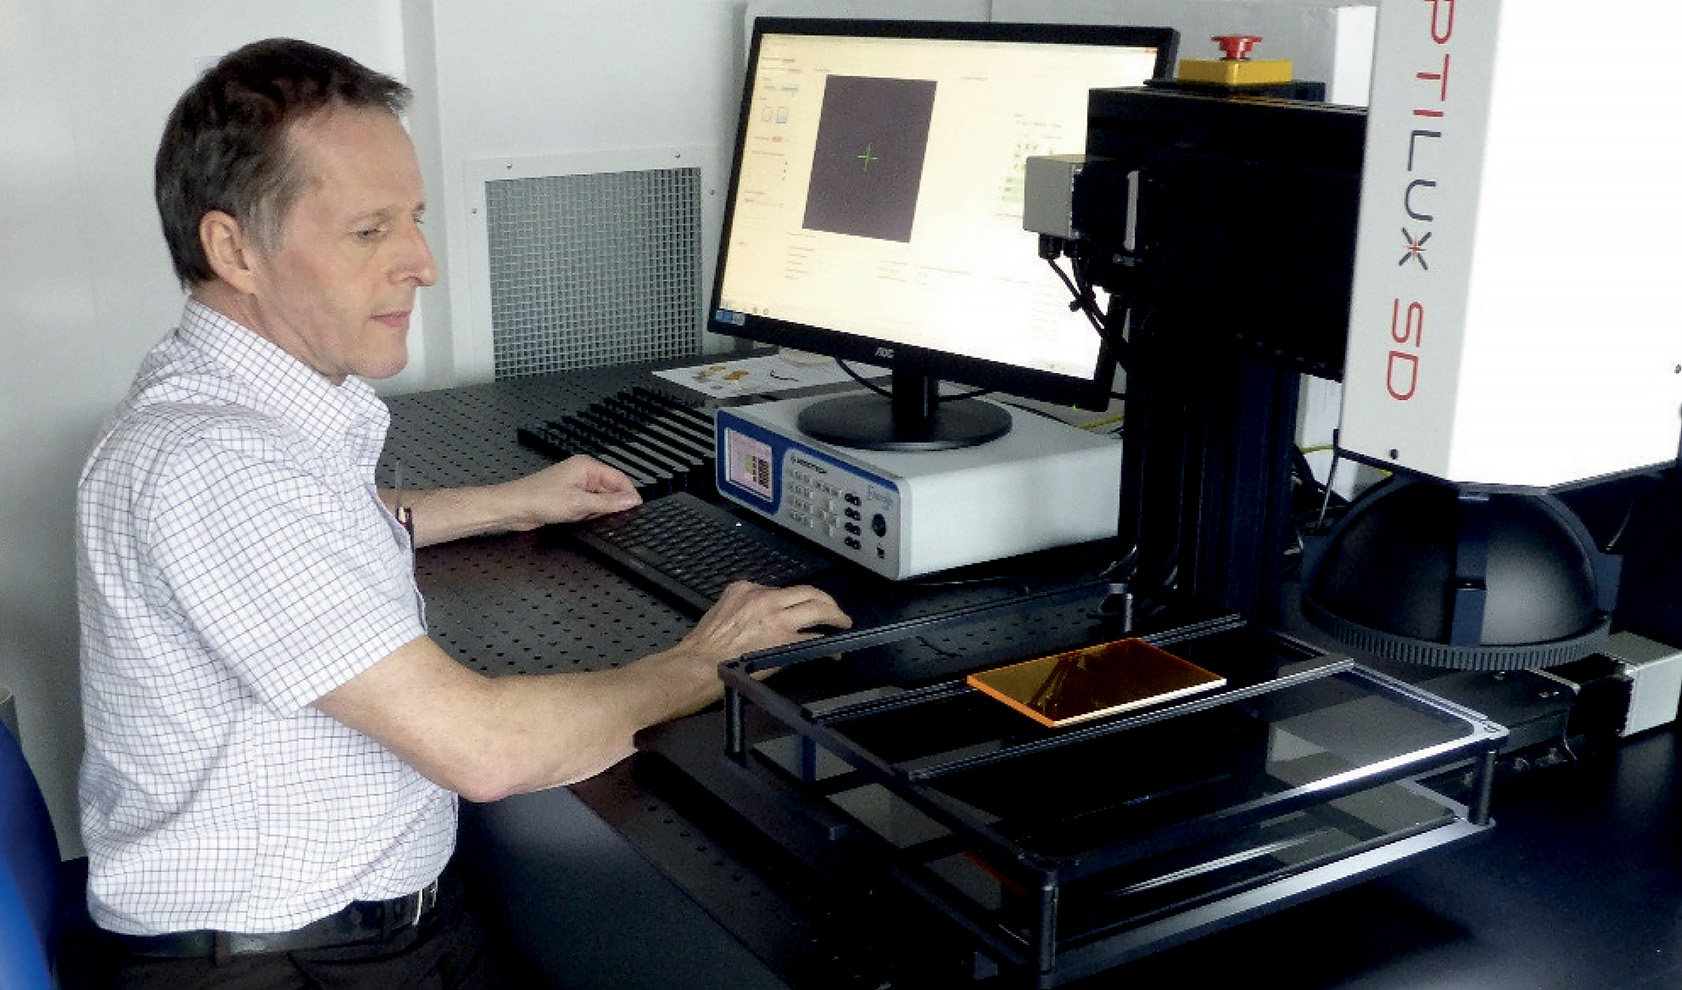
To achieve this goal, they turned to RedLux for help, tasking us with integrating an OptiLux SD into their inspection operation. Read on to learn how our solution helped Crystran boost their throughput and make significant cost savings.
In optical manufacturing, it’s still common for the quality of surfaces to be assessed against the established industry standards (such as MIL-PRF-13830B) purely by eye. This method, by its very nature, is prone to subjectivity and frequently results in wasted time and resources, unnecessary onward processing and disagreements with customers. What was needed was a solution that provided objective measurement of quality.
RedLux’s answer to this problem harnesses the power of machine vision technology to apply greater scientific accuracy to assessing optical components. Our team of metrology engineers worked tirelessly to develop the OptiLux SD - a fully automated, highly repeatable system for the inspection of flat optical surfaces.
Combining a high-resolution sensor head with a precision X-Y motion system, the OptiLux SD delivers a non-disputable scratch dig quality assurance. It also reduces the amount of optical component handling required - something which can lead to accidental damage of optical surfaces.
After the OptiLux SD solution was deployed at Crystran’s Poole factory - and RedLux had assisted with staff training - the benefits were immediately clear as it was put to work assessing Crystran’s planar optics. As the system is designed to measure all surface imperfections against both MIL and ISO standards, Crystran were able to objectively determine whether every component had passed or failed, as well as generate accurate surface-feature maps.
The company’s Managing Director, Mark Middleton, explains:
“...Critically, this analysis includes all defined criteria stated within these two standards, including the illusive accumulation rules governing lower-tier imperfections. It was a pleasure working with the metrology experts at RedLux, testing our full range of sample materials and ensuring all our functionality needs were met.”
The OptiLux SD has continued to easily address the requirements of Crystran’s diverse range of products, accurately measuring parts individually or in batches before certifying them against the appropriate standard. But beyond just an improvement in quality control, the system has produced measurable productivity benefits.
“When we first implemented the system roughly half of everything we made was to a 40-20 SD spec or better. Given the resultant reduction of re-works the OptiLux SD provided, our estimated annual saving was roughly £50,000. Over recent years we have seen a tightening of tolerances towards the 20-10 and 10-5 requirement, making us even more reliant on the OptiLux SD and saving our production and inspection departments even more time and therefore money.”
On top of this, the OptiLux SD has enabled Crystran to:
Reduce the number of surface quality queries they receive. The solution gives customers confidence in their ability to deliver a quality product every time.
Upskill their staff. They are now able to instantly recognise whether a part meets the specification, which has increased production capacity elsewhere.
OptiLux SD’s patented inspection technology gives you unparalleled confidence in your inspection process. Complete with multiple inspection modes, the system is simple to use - designed to minimise loading time and reduce component handling, allowing for seamless integration into existing manufacturing processes.

We’re helping organisations all over the world reap the benefits of world-leading metrology. Speak to our experts.